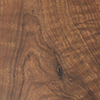
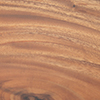
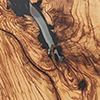
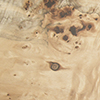
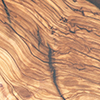
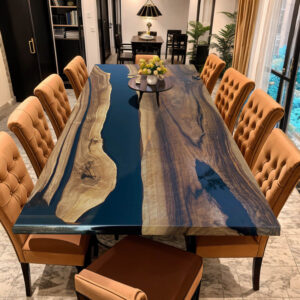
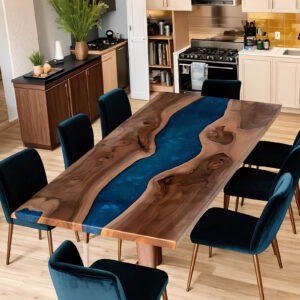
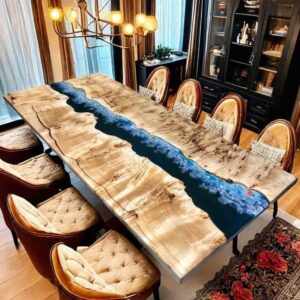
Wood Type: Choose from Black Walnut, Walnut, Ash, Cedar, Poplar, Olive, and others.
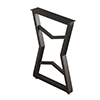
Wood Shape: Select either a natural shape or one modified through design.
Natural Features: Consider knots, burl, grain patterns, natural cracks, end splits, mineral streaks, wormholes, resin pockets, and sap stains.
2.Wood and Color Confirmation:
Confirm both the selected wood and its color during the selection process to ensure optimal matching.
3.Designer Creates CAD Drawing:
A designer will prepare a CAD drawing for your approval.
4.Material Preparation:
Cleaning: Clean the wood thoroughly to remove impurities and enhance texture. The wood may look slightly different after cleaning compared to its original state.
Edge Preparation: Natural wood edges may be slightly scorched during cutting for a better finish, unless specified otherwise.
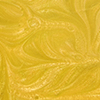
5.Painting/Resin Application:
Apply resin to lock in bacteria and dust while reducing bubbles. Using resin yields the best results.
6.Shaping and Trimming:
Trim and shape the wood to the desired dimensions.
7.Resin Preparation:
Use a vacuum machine to eliminate air bubbles from the resin, which usually takes 30-60 minutes.
8.Resin Pouring:
Pour the resin in layers, using a torch to remove large bubbles as they rise. Repeat this process for each layer.
Typically, 3-5 layers of resin are needed depending on thickness, with additional layers for wave effects. Each layer requires about 2 days to cure, with the final layer potentially needing longer.
9.Demolding:
Remove the cured piece from the mold.
10.Excess Wood Removal:
Sand away excess wood to achieve a smooth surface.
11.Sanding and Polishing:
Sand the surface and apply scratch-resistant lacquer. This process is repeated 5-6 times, sealing all gaps.
Clean with a thinner to enhance color, and use a brush to apply the first coat of lacquer for better absorption.
12.Inspection and Resin Touch-up:
Inspect the piece thoroughly. Fill any resin gaps and polish raised areas to ensure a smooth surface.
13.Final Lacquering:
Apply the final coat of lacquer in a dust-free room with a spray gun to minimize dust contamination.
14.Final Inspection and Packaging:
Conduct a thorough final inspection. After approval, carefully package the piece with:
A layer of pearl cotton
A fabric layer
A cardboard layer
Fabric strips for edge protection
A wooden frame for added protection during transit